Make your Own Easter Eggs for Less Waste and More Fun
We love Easter time here at Fressko. It's an opportunity to bring a little festivity to the home as we enter the cooler months, it brings excitement to kids (and big kids) alike and is a fabulous excuse to eat delicious food!
The most obvious Easter-time treat is, of course, chocolate eggs. They are gifts for loved ones, prizes for egg hunts and a little touch of magic for children as they wake up to see if the Easter Bunny has been to visit.
The warm fuzzies Easter brings are beautiful, but, like any other festive holiday, it can also be a time for vast amounts of waste. Although manufacturers have made efforts to reduce the amount of packaging used, according to Friends of the Earth (1), many still use copious amounts of plastic for their Easter Eggs.
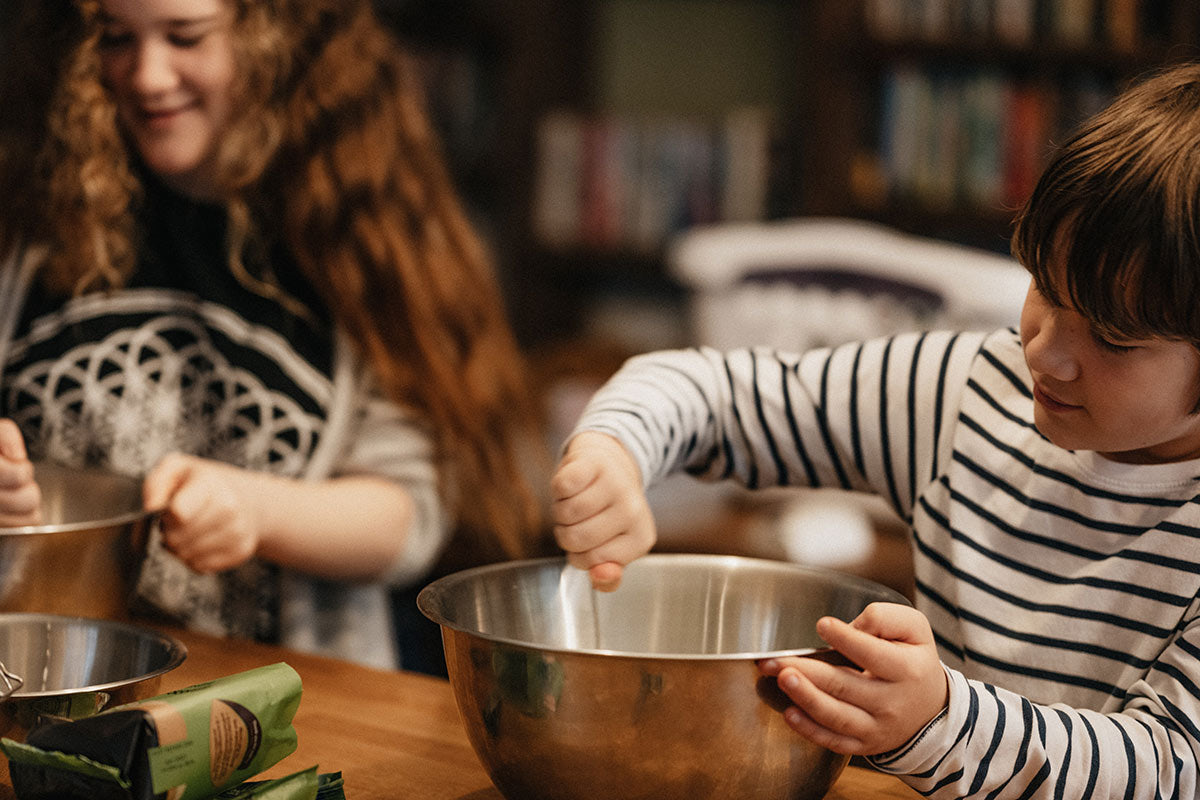
With this in mind, we thought it fitting to look into how we can reduce packaging AND create some more Easter fun this holiday season. Making your own chocolate eggs is actually really simple and an excellent activity for the whole family.
What you need
- Easter Egg moulds. We like these food grade silicone (2) ones as they are flexible and better for the environment than plastic versions.
- As much chocolate as you would like! We love organic chocolate from health food stores - no nasties! *Fun tip - grab a white and a dark to mix or make marble effects!
- Food thermometer.
- Organic food colouring, if you would like to colour some white choc. Fun!
- Surprise fillings! Anything and everything, from popping candy to jelly sweets, to nuts!
- Small piping kit or egg decorating kit.
Let's do it!
Clean those moulds:
Carefully wash the Easter egg moulds with hot soapy water and a sponge and dry thoroughly so that no unwanted debris finds it’s way into those gorgeous eggs.
Melt the chocolate:
Break chocolate and pop into a heatproof bowl. *Use one for each type of chocolate you have.
Boil some water in a saucepan on the stovetop. Reduce the heat to low and put the bowl of chocolate on top. *be sure that the water is not touching the bowl of chocolate and that no water gets into the chocolate - this will ruin it.
Stir occasionally as the chocolate melts.
Place a thermometer into the chocolate and heat until it reaches 43C. Take off the heat and cool to 35C.
Colour:
If you choose to make coloured eggs, it's time to add the food colouring!
Once the white chocolate is melted, remove from the bain-marie and give it a final stir.
Add one tiny drop of your chosen colour and stir thoroughly. If too pale, add another drop or as much as it takes to reach the desired shade. Remember, less is often more with food colouring!
Fill the moulds:
Pour small spoonfuls of chocolate into each mould and swirl around until coated. Use a bit of each white and dark to swirl together with a toothpick before covering the mould if you want a marble effect.
Leave to set for 20 mins, flat side down on a tray covered in greaseproof paper, then repeat 2-3 more times to get a thicker covering. Draw the flat edge of a knife across the chocolate to make sure the edges are clean.
Leave it a cool spot to set completely.
Carefully un-mould the egg halves.
Add your filling:
Half the egg halves and add your favourite fillings.
Stick 'em together:
Heat a baking tray, lined with greaseproof paper in the oven then bring to a heatproof board.
Place the edges of the unfilled halves gently against the hot paper on the tray and press edges carefully together with the filled halves.
Leave to set.
Decorate:
The fun part! You can buy some ‘egg-celent’ decorating kits, or you can pipe on your own coloured, white chocolate on the outside.
We recommend popping the set eggs in a cup to hold in place. Decorate the exposed area first, let set, then flip over and finish the rest.
Fin:
Once your beautiful Easter creations are set, arrange them in a basket, wrap them in some fun recycled paper as gifts, or keep in a cool place for your Easter Egg hunt on Easter morning!
Sources:


